This post will show you how to contour for beginners in just a few easy steps.
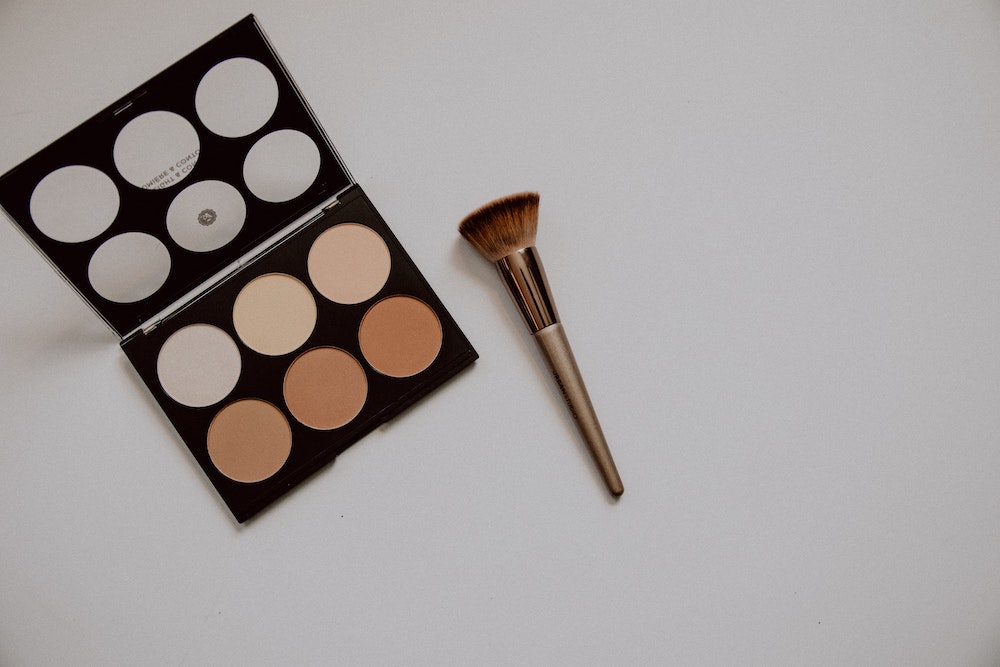
Here are a few easy steps to teach you how to contour your face whether you are a beginner or a makeup pro. I wanted to break it down because YouTube and Pinterest have made this age-old makeup technique scarier than it should be.
The Kardashians and social media brought contouring to the mainstream, but the process of highlighting and contouring our faces has been around in makeup for a long time.
The Goal of contouring (and highlighting) is to add dimension to the face and make it “symmetrical.”
Contouring for symmetry creates an overall balanced look to your face and often (when done right) adds a finished & professional look to your makeup application.
How to Contour Before Foundation:
Contouring your face first, before foundation, adds a “warmth” to your skin. It will balance out your skin tone to your face and neck and adds a soft dimension that looks really natural.
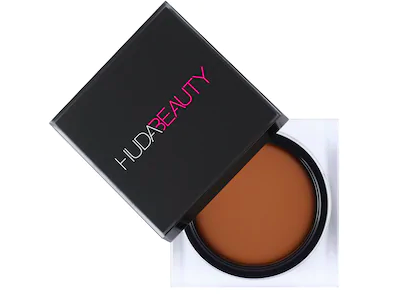
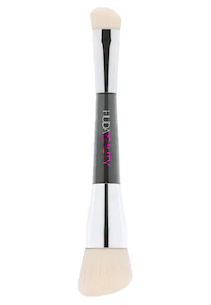
Typically done with a cream contour product like the Huda Beauty “Tantour” $30, and a dual-sided countour brush like this. A little goes a very long way.
Here is the step by step contour guide for beginners.
1. Cheekbones
First want to make sure you don’t already have fabulous high cheekbones. If you do, you can skip this step. If you have a round or oval face this is a great step for you.
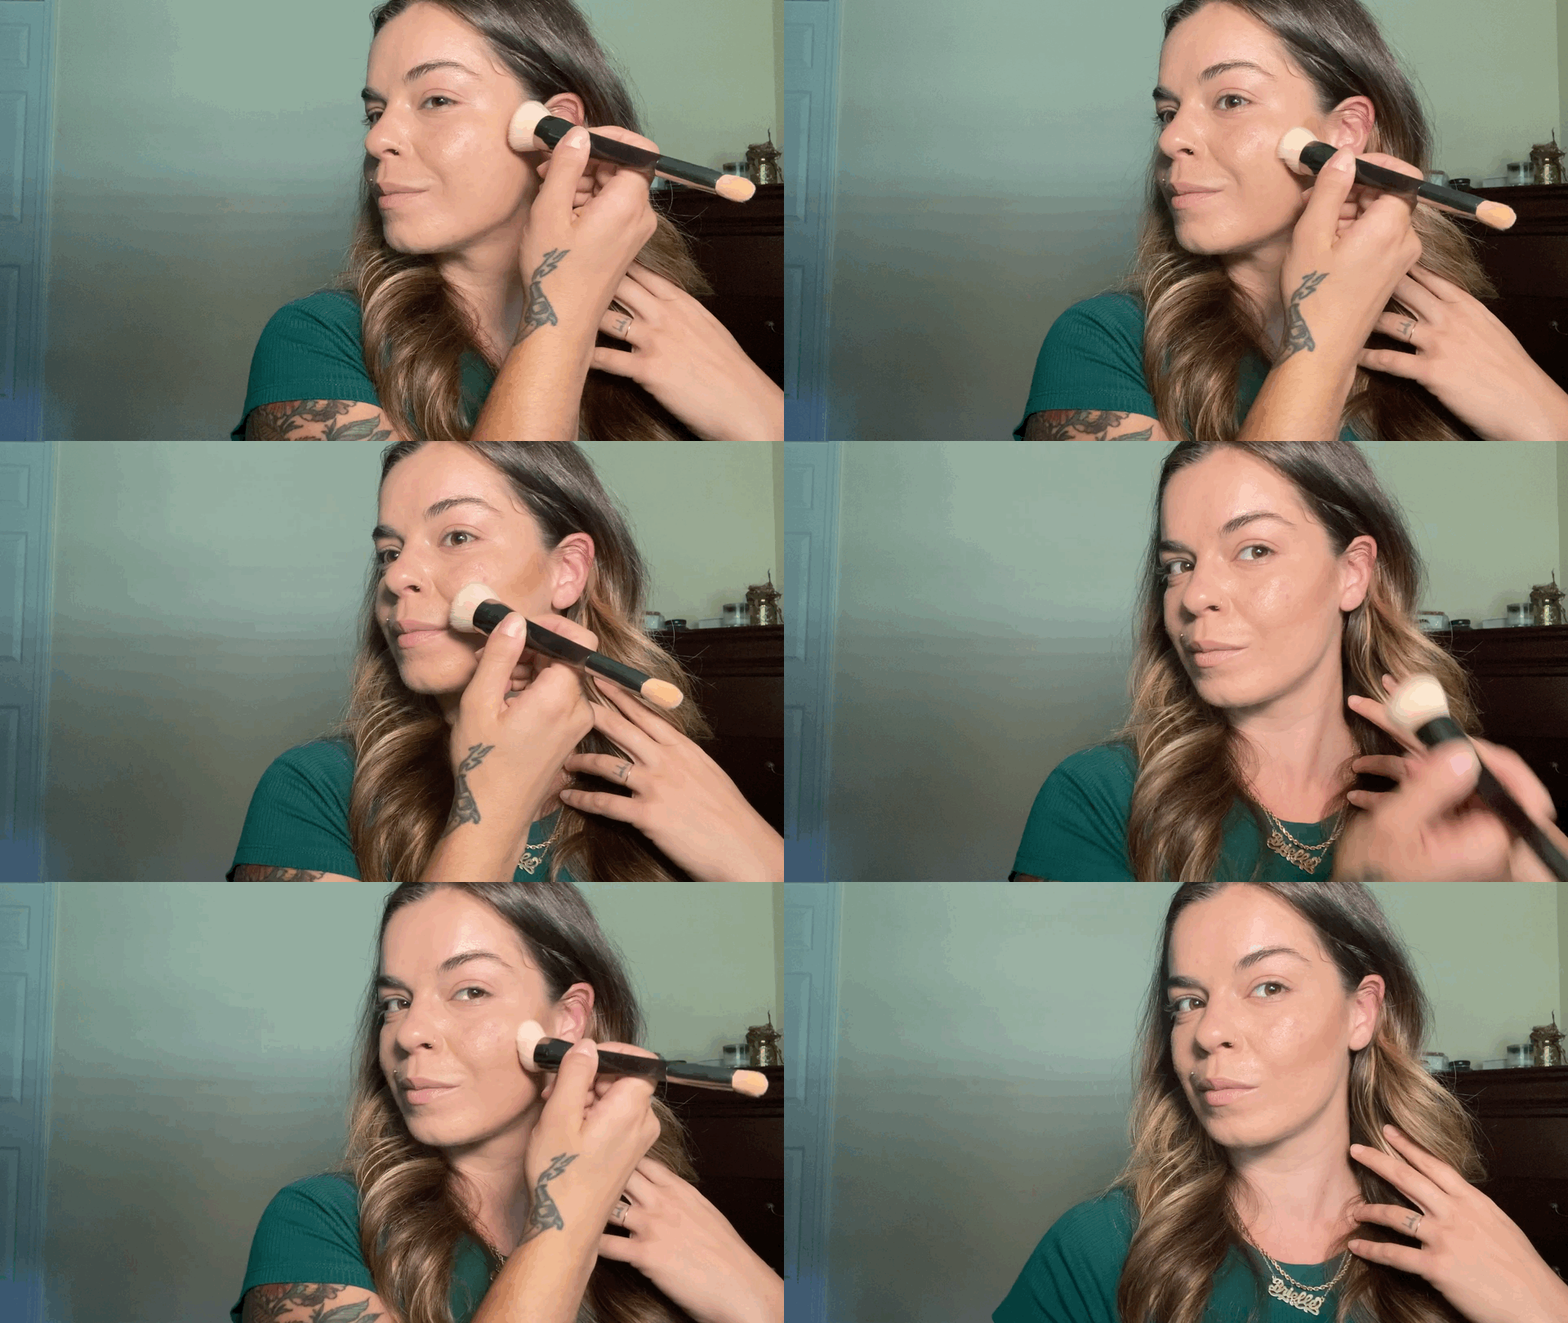
Take the brush and a little product, and feel for the bottom of your cheekbone.
Start your application at your hairline & your ear and blend down along your natural cheekbone until you reach the apple of your cheek.
Stop here! Make sure you leave room between your nose and cheek so you don’t make your face look smaller.
2. Forehead
If you have a smaller forehead or a lower hairline, you can skip this step.
Otherwise, you’ll take just a bit of product and blend it on each temple, into your hairline to prevent it from looking fake.
3. Nose
Narrow noses can skip this step.
For everyone else, take a smaller brush and apply a very small amount of product to your nose from the tear duct area (under the eyebrow) and down along each side of the bridge of your nose.
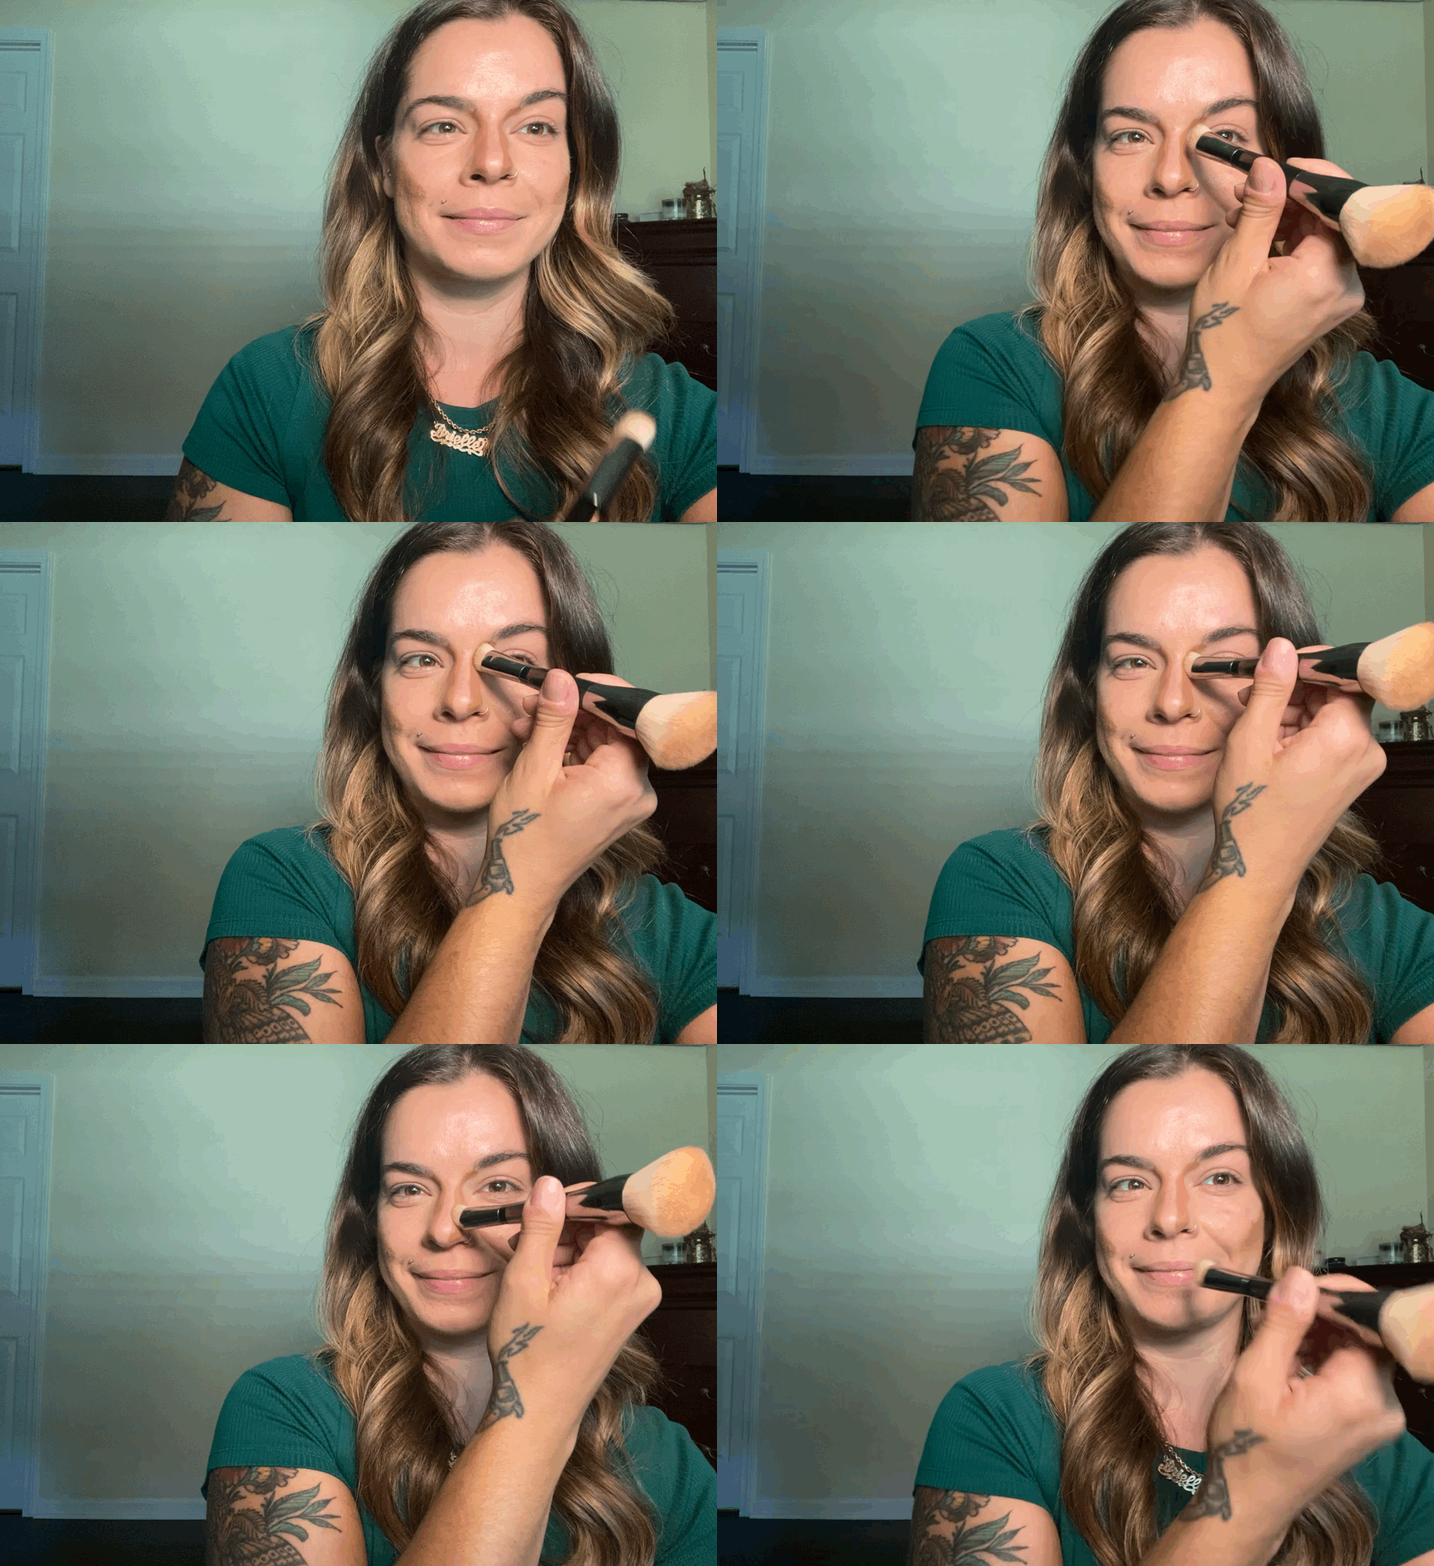
4. Chin & Jaw
This is a great step for most everyone, but be careful not to apply too much.
We will blend this soon, but you first want to lightly trace a sheer line of product underneath the jawline.
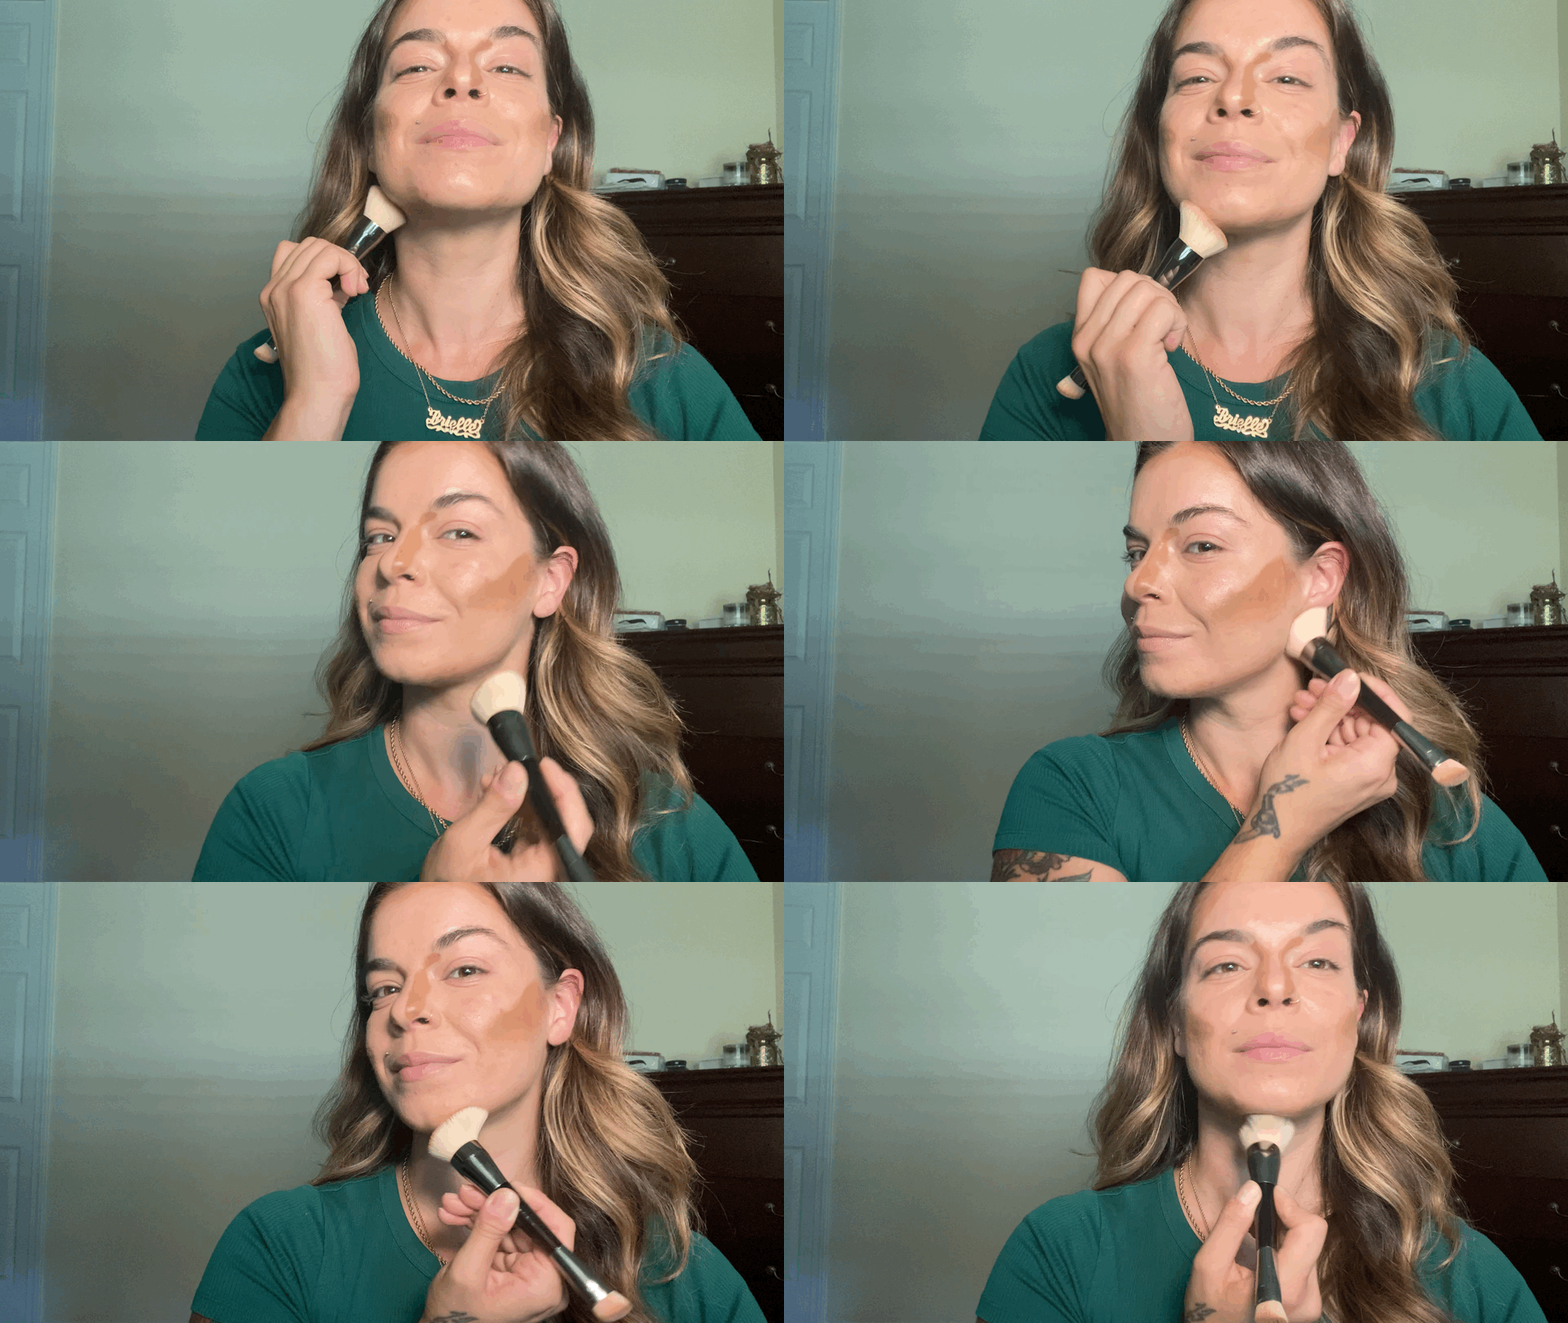
5. Blend
Now is the fun part.
Blend with a large brush, any area that you applied too much product.
Make sure to keep the product mostly in its place while blending in small “buffing” (circular) motions.
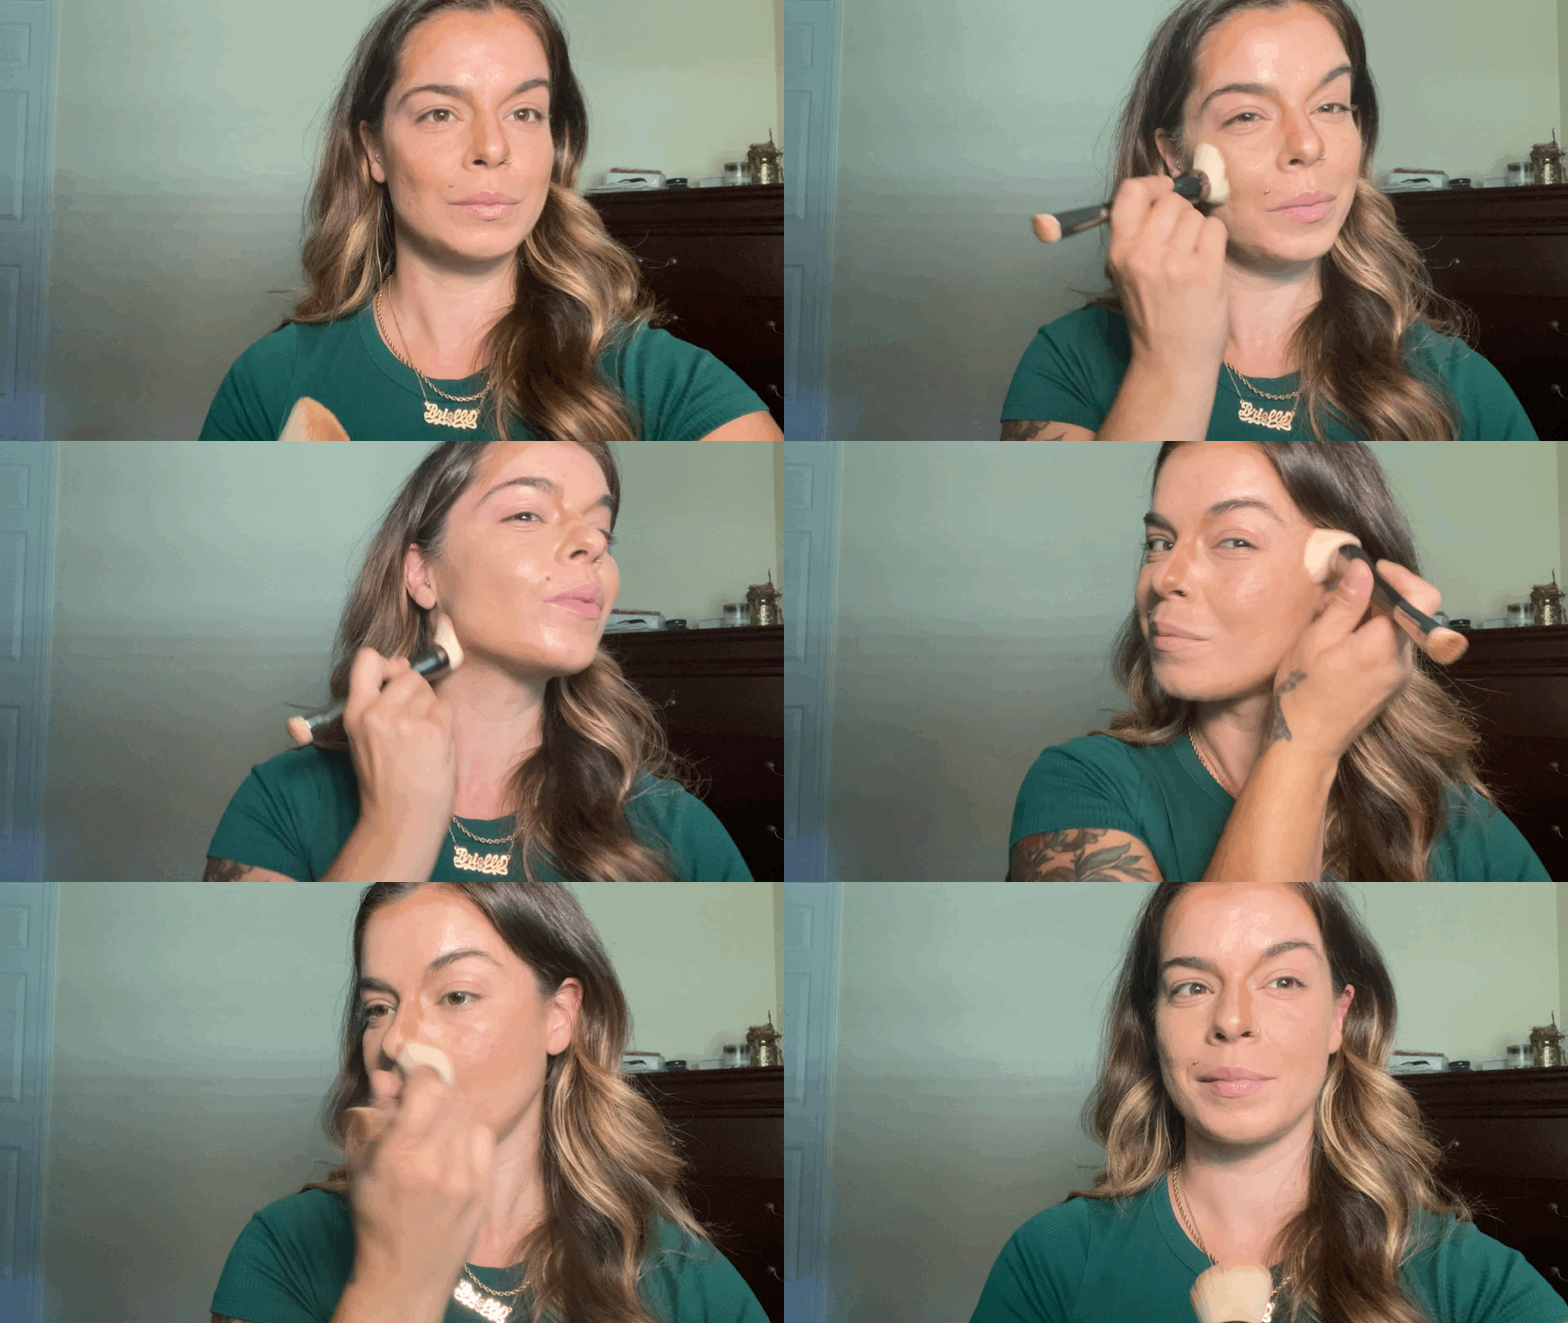
6. Foundation
At this point, you will still look like you have dark lines on your face and that is ok!
Now you will take your beauty blender sponge, or the brush you used to blend the contour, and apply your foundation over all the areas.
Don’t overthink it, go ahead and blend away. You’ll be surprised how awesome your makeup looks after you’re done.
How to Contour after Foundation with Bronzer / Powder
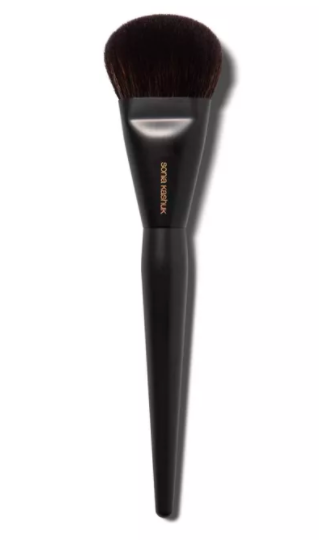
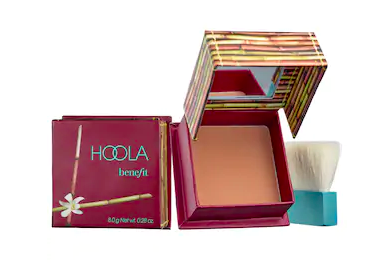
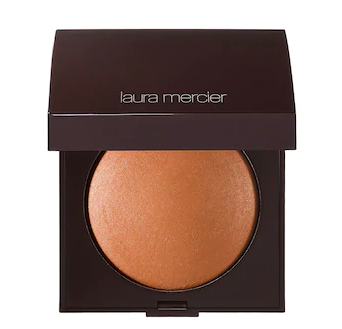
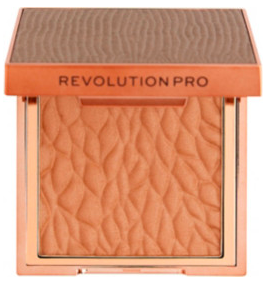
Follow the steps above for placement, but switch out your Huda Beauty Tantour Cream for a Matte contouring powder like these, and a looser contouring brush like the Sonia Kashuk #133 Brush $17
Laura Mercier Matte Radiance Baked Bronzer $44
Revolution Sculpting Bronzer $11
Steps for Contouring with Powder
1. Follow the product placement steps above.
2. KEEP. IT. MATTE, and save the shimmer for your highlight.
3. Stay on the Cool Toned side and not deep orange-based bronzers.
4. Cool-toned or neutral bronzers will mimic an actual “hollow” in your contoured areas and prevent your skin from looking too orange or artificially tanned.
5. Apply a little and then blend. Then layer up.

Ok! I hope this post on the easy contour steps for beginners helps you feel more confident the next time you do your makeup.
If you like this post you might like: